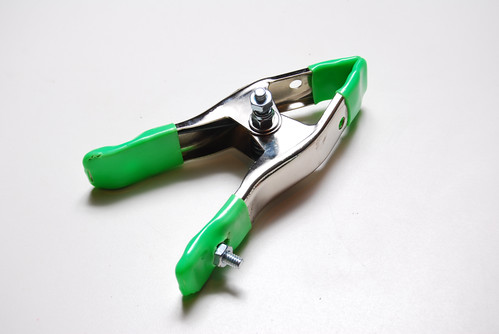
Since doing the previous DIY with this $0.99 Home Depot Clamp, I've come up with an improved version that I like much more. Replacing the rivet center post with a 1/4 x 20 x 2 inch bolt makes this clamp useful in both vertical and horizontal orientations.
You should read this entire post to understand how I went about this. You might have alternate tools or ideas that would make this an easier mod. It was a little challenging.
TOOLS: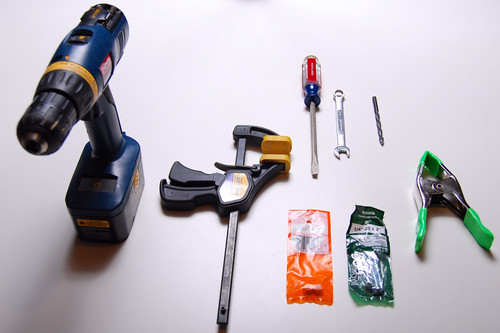
1) Cordless Drill
2) 17/64 Drill Bit
3) Quick Clamp (or vice or alternative)
4) Regular Screw Driver
5) 7/16 wrench
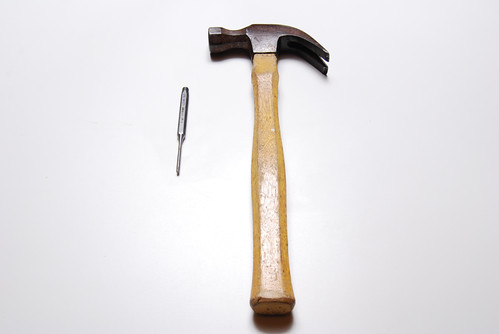
6) Hammer
7) Center Punch
SUPPLIES: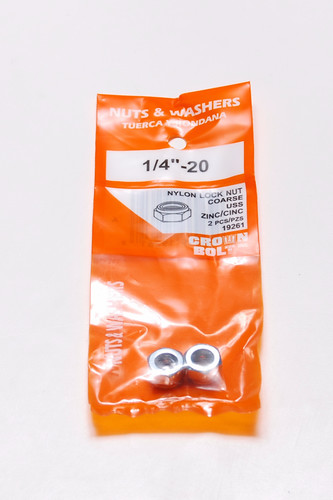
1) 1/4" Nylon Lock Nut
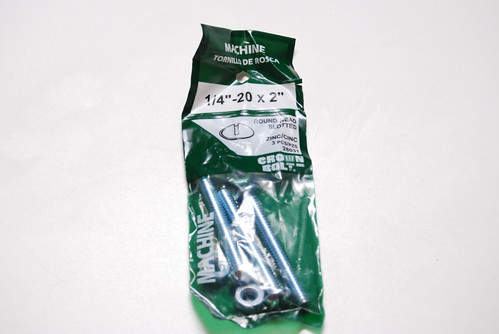
2) 1/4"-20 x 2" Round Headed Machine Screw with Hex Nut
3) 2 - 1/4" Flat Washers (not pictured)
4) 1 - Home Depot Clamp (you know the one)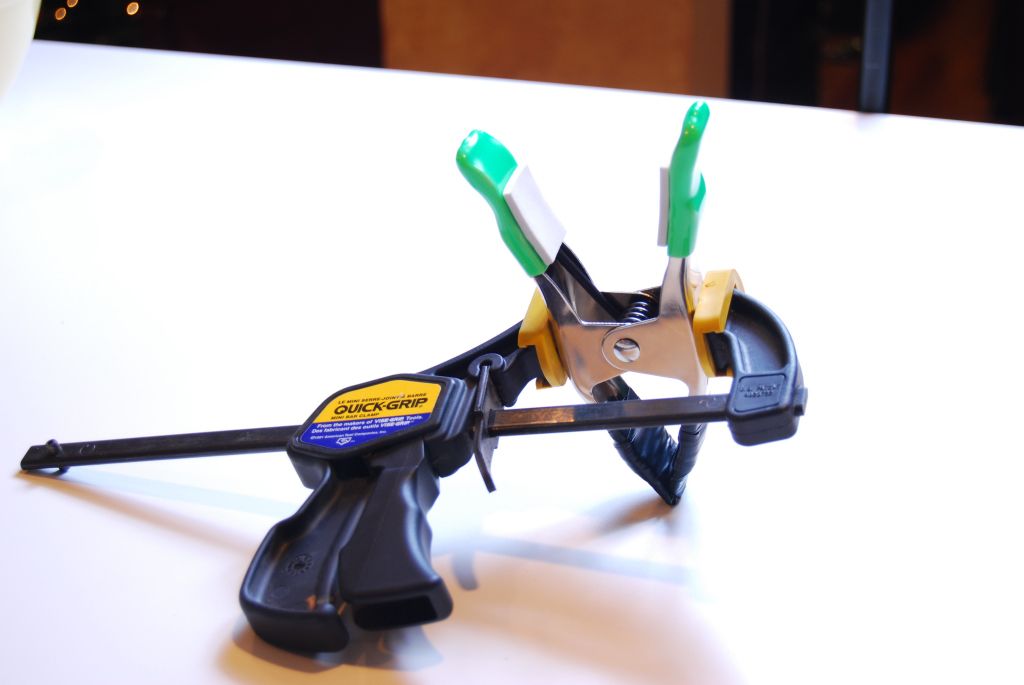 First affix the Quick Clamp to the Home Depot Clamp to be modified as seen here. Don't over tighten. Gentle pressure is plenty.
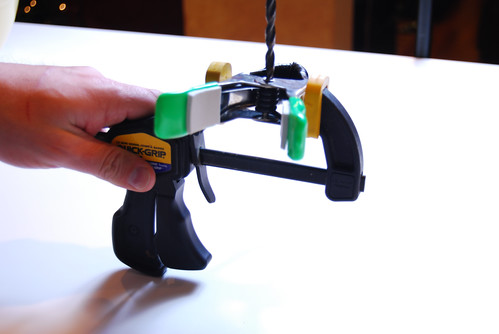 Next drill off the expanded part of the rivet. You will know when you've gotten enough of the rivet as you will begin to drill into the hole in the clamp handle. Don't drill through the handle just yet. Only remove enough of the rivet so that we can punch it out.
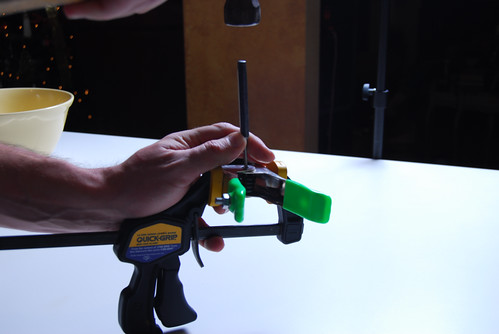 At this point you will likely need another pair of hands. These photos are intended only to demonstrate the concept. Use the hammer and punch out the rivet. Take care and go slow. You don't want the clamp to come out of the Quick Clamp. That would make finishing the mod VERY difficult.
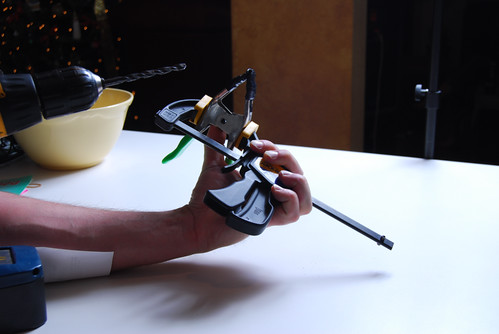 You can use your thumb or another person can use the screw driver. But somehow, you need to align the holes of the clamp AND the spring so that you can drill through the handles to enlarge the holes without damaging the spring. You need to do this on both sides of the clamp.
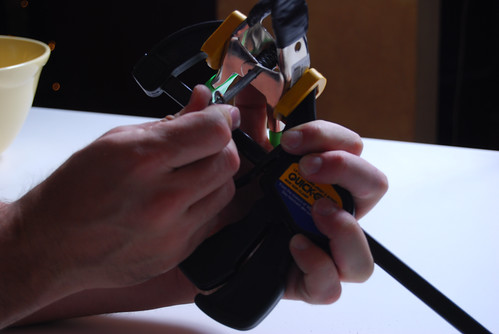 Again, using your thumb, align the holes so that a machine screw and flat washer can be inserted through the bottom.
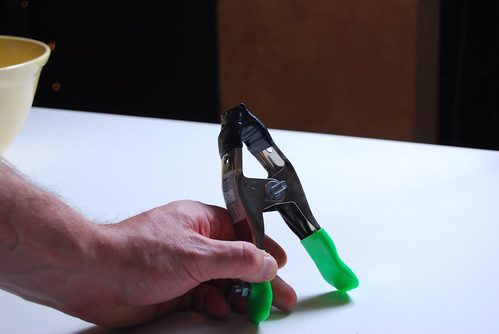
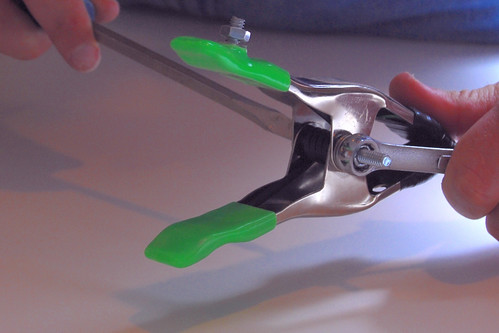 You are home free now. Add another flat washer and a nylon locking nut. Tighten the nut snuggly (do not over tighten) using the screw driver and wrench.
 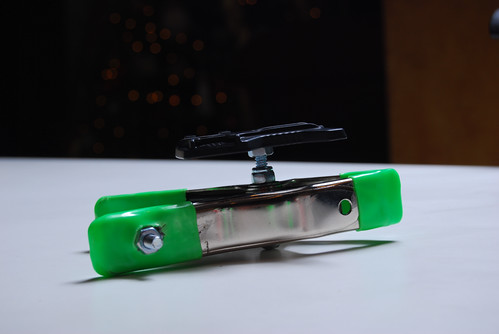 Adding the remaining hex nut provides for a "locking" mechanism to help hold the AS-19 Speedlight stand. This is the finished product. The 1/4"-20 x 3/4 stud on the handle was added in the previous DIY post. Now, I can mount my speedlights to either horizontal or vertical structures with confidence.
Read more!
Thursday, November 29, 2007
New Improved DIY Speedlight Clamp
Monday, November 26, 2007
DIY Speedlight clamp
I really like using the AS-19 Speedlight stand that came with my SB-600. So much so that I bought two more for the two SB-26's that I acquired on ebay. I realized early on that I could mount the AS-19 onto a generic tripod and likewise anything with a 1/4 x 20 stud.
Then I read about these inexpensive clamps from Home Depot on the strobist.com flickr discussions. Here is my DIY use for the clamp.
You need a pair of 1/4 x 20 x 3/4 bolts, three 1/4 lock washers, a pair of 1/4 x 20 hex nuts, 5 to 6 inches of aluminum flat bar, and a wing nut.
Under the green rubber on the clamp handle is a hole that the 1/4 x 20 x 3/4" bolt fits into. I removed the rubber, inserted the bolt, and tightly fastened a hex nut with a lock washer onto the bolt. Then, I dipped the rubber end into a very hot cup of water so it would easily stretch. I then stretched it over the bolt and slit a hole in the rubber to allow the bolt to stick through. 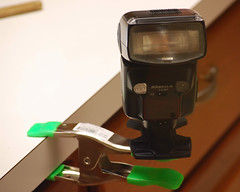
The clamp can be used as is now with the AS-19 to affix to horizontal structures as shown. This is a very handy and useful clamp. If you don't like leaving the AS-19 loosely fastened to the bolt, you can add another nut to act as a locking nut when positioning the flash head.
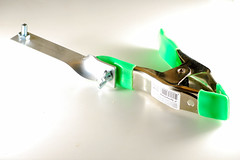
Now, if you would like to be able to use this clamp on vertical structures, you can add a twist to a piece of aluminum flat bar and a wing nut. The twist is accomplished by using a couple of plumber's pipe wrenches (or crescent wrenches, or a vise and wrench, or ... you get the picture). I basically took a 3 foot length of aluminum flat bar (found at HD also), tightened a wrench about 3 inches from one end, and another about 1.5 to 2 inches further down, and twisted the wrenches 90 degrees. I advise using 1.5 to 2 inches between the wrenches since you are likely to rip the aluminum if the wrenches are too close together. The initial 3 inches from the end should provide plenty of clearance if you intend to use the AS-19. You can shorten the length if you intend to use an umbrella clamp or shoe mount. The original 3 foot length of flat bar was useful for a couple of trial and error attempts with plenty left over to make more. Drill a hole in each end to accommodate the 1/4 bolt. On the longer end use a 1/4 x 20 x 3/4" bolt, lock washer, and hex nut to create another stud.
Finally, the wing nut and remaining lock washer are used to secure the bar to the clamp via the 1/4 x 20 bolt that was previously mounted to the clamp itself.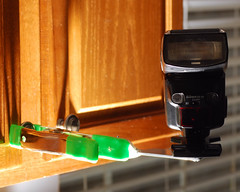
Read more!